Established in Slovenia in 1875, JUB are at the forefront of final coat renders and paints. JUB have their own research centre on site at their head office near Ljubljana where every new product is tested to destruction before being released to the market. It is here that they create the next generation of renders and paint coatings. We operate a tinting plant at our Glasgow depot where we can tint the renders and paints to your choice. Check out our full range of colours available – CLICK HERE
Basecoats
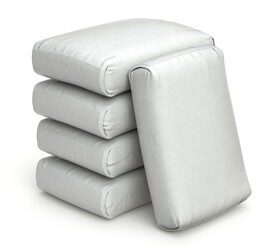
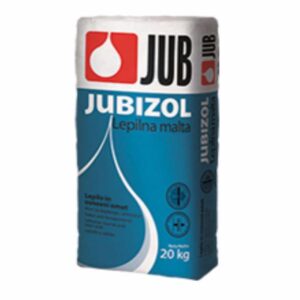
JUB adhesive mortars and adhesive rendering mortars are an essential component of external wall insulation (EWI) systems, which are used to improve the thermal performance and energy efficiency of buildings.
Once the insulation boards are fixed in place, an adhesive rendering mortar is applied on top of them to create a base for the primer and eventually the final decorative finish.These mortars are formulated to provide excellent adhesion and strength, ensuring that the rendering layer remains securely attached to the insulation board. They also offer other benefits, such as water resistance, breathability, and flexibility, depending on the specific product and application.
By using high-quality adhesive mortars and adhesive rendering mortars as part of an EWI system, you can improve the thermal performance of your building and reduce energy consumption, as well as enhance its appearance and protect it from the elements.
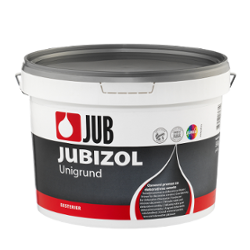
Primers
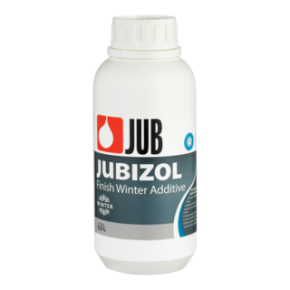
Primers are an essential component of any Thin Coat system, as they provide a critical foundation for topcoat to adhere to. One of the primary functions of a primer is to ensure adequate adhesion between the surface and the topcoat. This is achieved by creating a strong bond between the surface and the coating, which helps to prevent peeling, flaking, and any other system failure.
In addition to adhesion, primers also serve other important functions. They help to equalize the absorption of the surface, which can be important when coating porous or uneven surfaces. They also bind dust particles and other contaminants that cannot be removed by cleaning, which helps to improve adhesion and prevent coating failure.

£59.40 – £186.63 Exc VAT
This product has multiple variants. The options may be chosen on the product page
£67.49 – £125.00 Exc VAT
This product has multiple variants. The options may be chosen on the product page
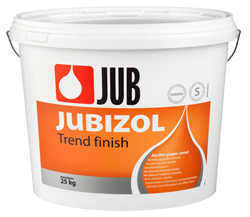
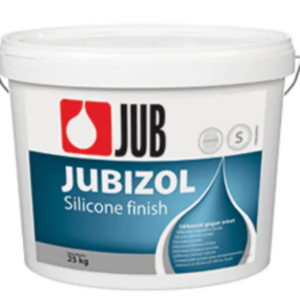
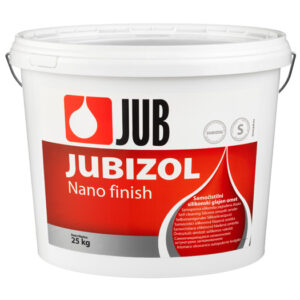
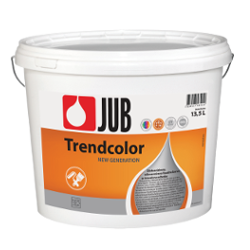
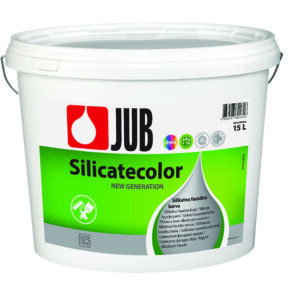
Thin Coat
The final coat in an external wall insulation system is usually one of the pre-mixed, through-colour decorative renders. There is an extensive range of colours available in the Acrylic, Silicone and Silicate renders together with different grain sizes and textures.
This includes the most popular option, Unixil 1.5mm which is intended for decorative protection of wall surfaces of all types of buildings, including multi-storey buildings with minimum protruding roofs. There is also Trend, a range of heat-reflective renders utilising darker colours. Also, Nano finish which provides decorative protection to façade wall surfaces of modern tall buildings with no or with minimum protruding roofs.
These are available for tinting in our depot, please see our colour chart for full range available – CLICK HERE
£71.58 – £220.00 Exc VAT
This product has multiple variants. The options may be chosen on the product page
£71.58 – £109.00 Exc VAT
This product has multiple variants. The options may be chosen on the product page
JUB Paint
With 140 years experience in paint production, JUB is one of Europe’s leading manufacturers.
Continued research and development has meant that the product range is kept at the forefront of today’s technology. Within the extensive Jumix paint range, are several advanced paints and coatings design for use with the a variety of different systems.
They manufacture a range of high-quality external paints to meet the standards of any project. The range includes masonry and crack-bridging paints, as well as, exclusive self-cleaning and heat-reflective ones.
£92.95 – £125.00 Exc VAT
This product has multiple variants. The options may be chosen on the product page
£38.72 – £103.29 Exc VAT
This product has multiple variants. The options may be chosen on the product page
JUB Accessories